Temp Mechanical Gauge Mounted on Engine Not Reading
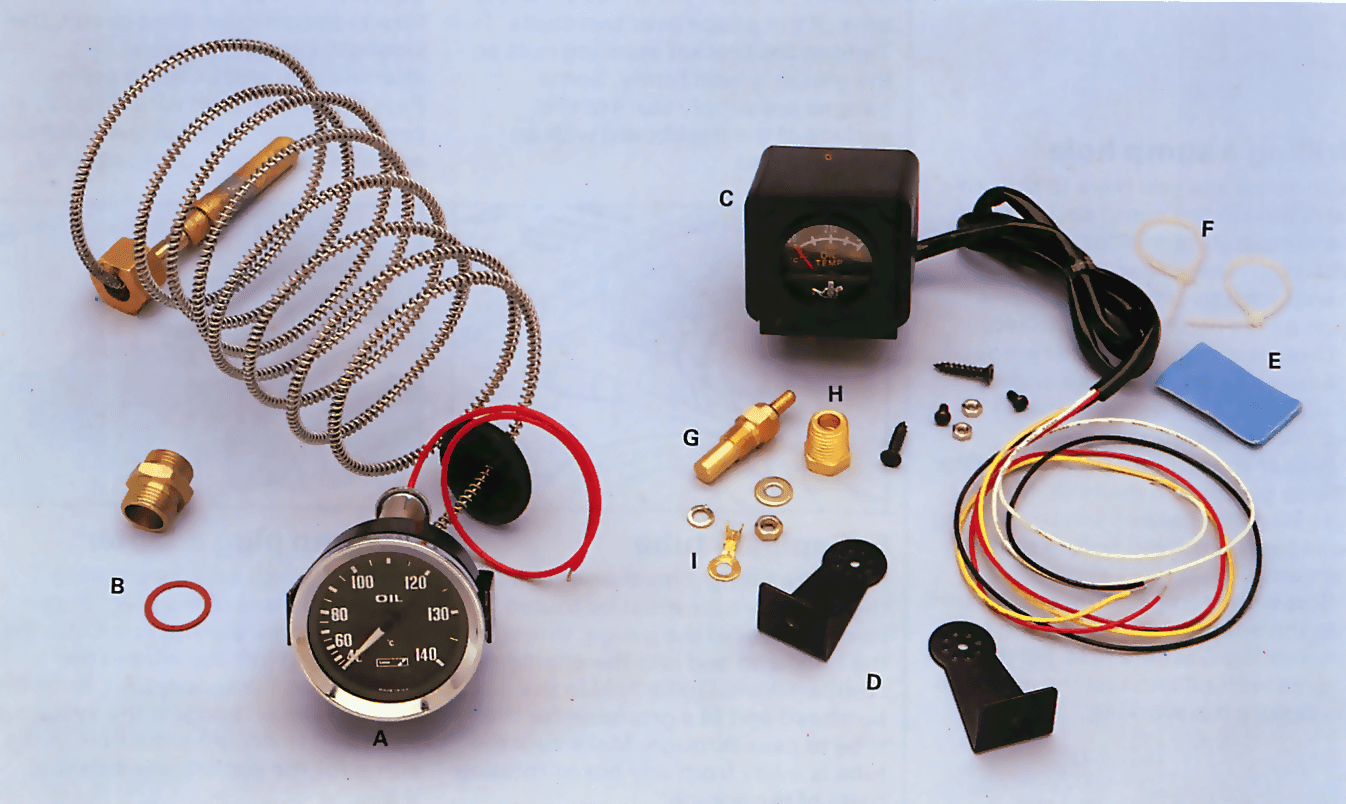
Oil gauge kit
The working temperature of your engine is unremarkably kept to an optimum level by the cooling system . Just there are occasions when your engine is worked harder and reaches temperatures college than normal. This can happen, for instance, when you are towing a trailer or some other vehicle, or if your engine has been tuned for higher performance.
As the temperature of your engine increases, the engine oil becomes thinner and thinner. If the engine is run above normal temperature for a long time, there is a danger that the oil may become and so sparse that information technology tin can no longer lubricate the moving parts of the engine properly.
If this happens your engine can become seriously damaged to the indicate where information technology has to be stripped and rebuilt or replaced completely.
Special gauge
While a water temperature gauge gives a fairly authentic reading of the engine temperature via the cooling organization, it does not direct tell you much about the temperature of the engine oil. For this you need a special oil temperature gauge.
These gauges measure the oil temperature with a sender unit, similar to that used for h2o gauges, which fits straight into the sump pan to give an accurate reading of the temperature.
The gauges are bachelor from accessory shops and are either mechanically or electrically operated.
Fitting an oil pressure level judge
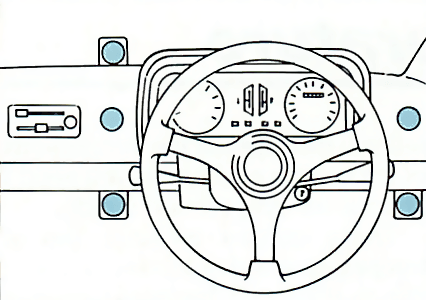
The gauges are mounted either directly into the dashboard or in a subclass suspended nether the dash.
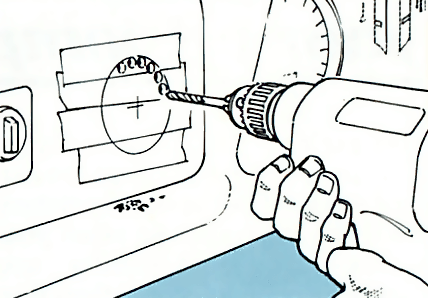
How the sender unit is fitted into the sump pan depends on the type of gauge you have and the model of your car. In some cases the sump pan will accept to be removed and a hole drilled and tapped with a thread to accept an adapter.
Other types use the drain plug in the sump as the fitting position for the sender unit. Again you may need an adapter to fit the sender.
1. Position gauge
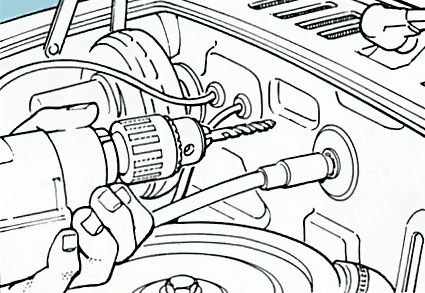
2. Drill out
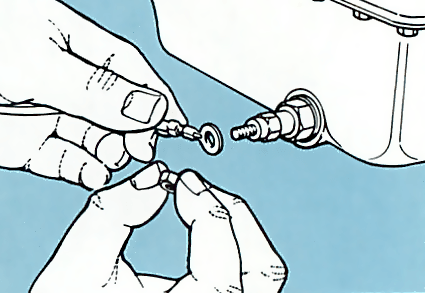
3. Fit gauge
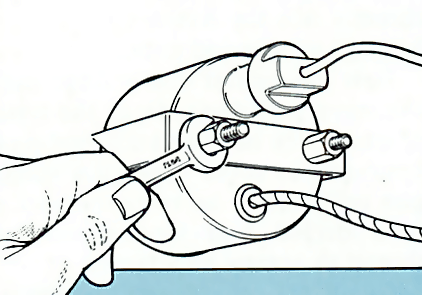
four. Wire upwardly
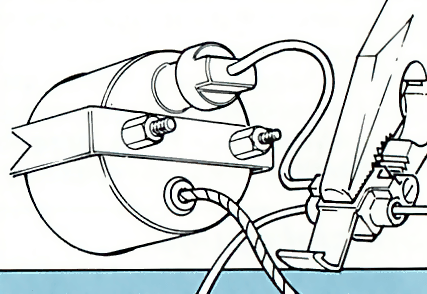
5. Capilary tube
vi. Sump plug adaptor
Reading an oil gauge
How yous should translate the readings on an oil temperature gauge depends to some degree on the model of your car. But, every bit a crude guide for a 2-litre engine when it has been running for some time, the following holds truthful:
fourscore-95°C - This is a normal oil temperature for an engine nether not besides much load.
100-110°C This is a normal reading if the engine is working especially hard, for instance when towing. Above 110°C The oil starts to thin out seriously and lose its ability to lubricate the engine and dissipate estrus from components. Check the level of the engine oil and inspect the sump pan to brand sure it is not covered with heavy deposits of dirt.
Beneath seventy°C Information technology is rare for the oil to run too cold, only this can happen with cars fitted with an oil cooler . If the temperature drops below 70°C suspect a faulty oil libation thermostat .
Note that all engines, whether or not they are fitted with an oil libation, are prone to depression oil temperature in cold atmospheric condition, even though the water temperature reads normal.
Drilling a sump hole
With some kits you have to drill an actress pigsty in the sump casing to fit the temperature sender unit of measurement. Bank check with your dealer first, or the gauge manufacturers, to find out where such a hole tin safely be drilled.
Drain the engine oil and remove the sump casing from the engine. Marker and drill the hole in the required position.
Solder the adapter provided in the kit into position in the hole. Brand sure all metallic flakes from the drilling have been removed earlier refitting the sump.
Source: https://www.howacarworks.com/modifications/how-to-install-an-oil-temperature-gauge
0 Response to "Temp Mechanical Gauge Mounted on Engine Not Reading"
Post a Comment